Last month I wrote a little Twitter bot for myself with the goal of reclaiming my attention from Twitter. The idea is to fill my Twitter feed with things that I care about, rather than letting the Twitter algorithm control my attention. By programmatically injecting cards into my Twitter feed I can repurpose the time I spend scrolling on Twitter from time lost to time well spent.
This post explains, step-by-step, how you can build your own private Twitter bot so you too can repurpose the time you spend doom-scrolling.
Overview
In this guide you’ll see how to set up a private personal Twitter bot that only you can follow. We’ll use this to inject content directly into your own feed. In order to choose what to Tweet, we’ll extract content from our Roam Research database. Here are the six steps we’ll follow.
-
Set up a private Twitter account
-
Get your developer API keys
-
Use the twython library to post as your new Twitter account
-
Write the tweet generator; I pull my tweets from Roam Research
-
Use the schedule library to periodically tweet
-
(Bonus) Use supervisord to keep your Twitter bot running
Step 1: Set up a private Twitter account
Go ahead and register a new Twitter account. I called mine “@PrivateBieber6” since my main account is just @Bieber. You can call yours whatever you like!

You’ll have to provide a phone number or email address while registering. If you reuse a phone number from an existing account, it will work, but you’ll lose the ability to use SMS commands and receive SMS notifications on your main account. Only the account most recently linked to this phone number will have these features.
Pro-tip: you can add a plus ("+") string to your email address to turn in into a new email address that still gets delivered to your inbox. E.g. mail to david810+hello@gmail.com still gets delivered to david810@gmail.com (feel free to say hello).
Once you’ve created your new account, two important things to do:
-
Follow it from your main account!
-
Set it to protected. To do this, go to your settings ( https://twitter.com/settings/account), choose “Privacy and safety” > “Audience and tagging” > Protect your Tweets.
With this enabled, you’ll be the only one able to see the tweets from this account.
Step 2: Get your developer API keys
First you need to apply for a developer account. This just takes a minute. Go to https://developer.twitter.com/en/apply-for-access to apply for a developer account. Answer the questions honestly. Ping me on Twitter if any of the questions are unclear.
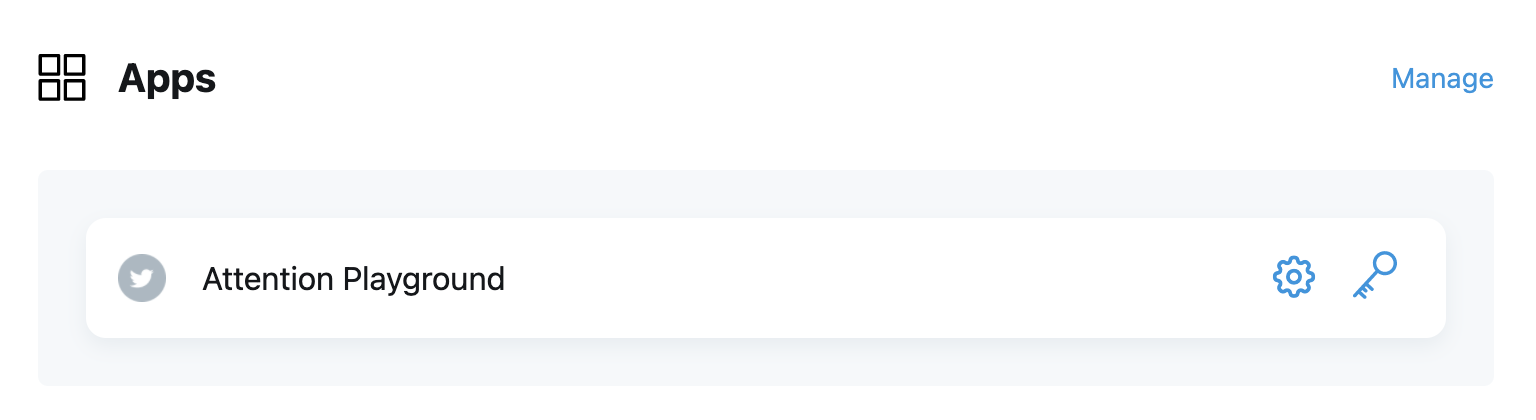
Once you have a developer account, create a new project and app. I called mine “Attention Playground.” Get creative! Choose a fun name.
Navigate to your newly created app, and Edit the “App permissions”. Set the app permissions to “Read and Write”. This will enable your bot to post tweets.
Next navigate to the project you created, and click the key icon next to your App.
Write down your API key and API secret key. Generate an Access token and secret and write those down too. Your access token & secret should say “Created with Read and Write permissions”.
These four tokens will be essential in the next steps.
Step 3: Use twython to tweet as your new account
Now things get a bit technical. Install the twython Python library by running pip install twython from your shell. If you’re not familiar with installing Python packages, you can
learn how to do this here1.
Let’s send a practice tweet. Create a new file called hellotweet.py with the following code:
import twython

client = twython.Twython(
  "YOUR_API_KEY",
  "YOUR_API_SECRET_KEY",
  "YOUR_ACCESS_TOKEN",
  "YOUR_ACCESS_TOKEN_SECRET")

def sendTweet(text):
  return client.update_status(status=text)

sendTweet("Hello world!")
On lines 4-7, place the keys you got from Step 2 in stead of the placeholders I’ve included above.
Now, run your program! python hellotweet.py
If everything’s worked, you’ll have a new tweet from your private account saying “Hello world!”
Don’t move on to the next steps until you get this working.
Step 4: Write the tweet generator; I pull my tweets from Roam Research
The simplest possible tweet generator looks like this:
import random

def choose_message():
  messages = ["Tweet 1: Make spaghetti",
              "Tweet 2: Learn about salmon",
              "Tweet 3: Call Mom"]
  return random.choice(messages)
We’re going to write a more interesting tweet generator that pulls tweets out of a Roam Research database.
To do this, first set up a recurring json backup of your Roam Research database. You can use the project roam2github to set up the backup. There are detailed instructions on its github page for how to do this. You also have the option of using Roam’s built-in automatic backups, which you access from the command palette (cmd-P).
Use git to clone your backup locally. If your github repo is “
https://github.com/user/roam-backup", then the command to clone the repo is git clone https://github.com/dbieber/roam-backup.
Create roam.py. You can copy the contents of roam.py from here. This will allow us to pull the latest backup of our Roam database from GitHub programmatically. (1) Set the ROAMRESEARCH_DBPATH variable in roam.py to the location of json backup in your roam-backup directory. For me, this is ‘/Users/dbieber/code/github/dbieber/roam-backup/json/playground.json’. (2) Set the roam_dir variable in the update function to the path to your roam-backup directory. For me, this is ‘/Users/dbieber/code/github/dbieber/roam-backup’.
Using the new roam module we just created, it’s time to write a function that extracts potential tweets from your Roam database. Here’s the function I use:
def choose_message():
  all_children = roam.get_children()
  messages = []
  for child in all_children:
    if ('Fleeting TODOs' in child['string']
        or 'Distraction TODOs' in child['string']):
      children = child.get('children', [])
      for c in children:
        if (c['string']
            and 'DONE' not in c['string']
            and len(c['string']) <= 280):
          messages.append(c['string'])
  return random.choice(messages)
The get_children function gets all the blocks from your Roam graph backup. The for loop looks through all these blocks for ones that say “Fleeting TODOs” or “Distraction TODOs”. It takes the children of those blocks (except those that are too long or say “DONE”) as potential tweets. One of those is selected randomly each time choose_messages is called.
That’s our whole tweet generator. In the next step, we’ll pull the Roam backup from GitHub periodically automatically so it’s always somewhat up to date, and we’ll schedule the bot to tweet every ten minutes.
Step 5: Use the schedule library to periodically tweet
The schedule library is a useful Python library for scheduling tasks to run at a particular time or on a recurring basis.
Here’s a simple demonstration of how to use schedule to print “Hello world!” every 15 minutes:
import schedule

def print_hello_world():
  print('Hello world!')

schedule.every(15).minutes.do(print_hello_world)
while True:
  schedule.run_pending()
  time.sleep(30)
We don’t want to print hello world though; we want to tweet!
We’re going to use schedule to schedule two recurring tasks: (1) every 6 hours we’ll pull the latest Roam backup from GitHub, (2) every 10 minutes we’ll have our Bot pick a random block using the logic from the previous step and tweet it to twitter.
The code for that looks like this:
def tweet():
  message = choose_message()
  sendTweet(message)


def main():
  schedule.every(10).minutes.do(tweet)
  schedule.every(360).minutes.do(roam.update)

  while True:
    schedule.run_pending()
    time.sleep(30)
Putting it all together, our complete code now looks like this:
"""Every 10 minutes selects a topic from my Roam database and tweets it
from a private Twitter account.
"""

import random
import time

import schedule
import roam

import twython


client = twython.Twython(
  "YOUR_API_KEY",
  "YOUR_API_SECRET_KEY",
  "YOUR_ACCESS_TOKEN",
  "YOUR_ACCESS_TOKEN_SECRET")


def sendTweet(text):
  return client.update_status(status=text)


def choose_message():
  all_children = roam.get_children()
  messages = []
  for child in all_children:
    if ('Fleeting TODOs' in child['string']
        or 'Distraction TODOs' in child['string']):
      children = child.get('children', [])
      for c in children:
        if (c['string']
            and 'DONE' not in c['string']
            and len(c['string']) <= 280):
          messages.append(c['string'])
  return random.choice(messages)


def tweet():
  message = choose_message()
  sendTweet(message)


def main():
  schedule.every(10).minutes.do(tweet)
  schedule.every(360).minutes.do(roam.update)

  while True:
    schedule.run_pending()
    time.sleep(30)


if __name__ == '__main__':
  main()
Make sure that both the “tweet” function and “roam.update” run successfully.
Save this as roam-tweeter.py. You can now run it with python roam-tweeter.py.
And that’s it! While this is running, your Twitter bot will post a new tweet to twitter every ten minutes. Using this, you can flood your Twitter timeline with things you care about, whether that’s your TODOs, spaced repetition, or old ideas you want to revisit.
Step 6 (Bonus): Use supervisord to keep your Twitter bot running
This is an optional step, but highly worthwhile! Supervisord is a utility you can use to monitor processes and automatically restart them if they die. If you plan on using your computer for long-running processes like a Twitter bot, this can save you lots of headaches.
Follow the instructions at supervisord.org to get set up. The key steps are:
To install supervisord, use pip install supervisord
Add a config for running your Twitter bot. Mine looks like this:
[program:private-bieber-twitter]
command=/Users/dbieber/.virtualenvs/_3/bin/python roam-tweeter.py
directory=/Users/dbieber/code/playground/private-bieber-twitter
Notice that I’ve included the full Path to python in the command.
Finally, start supervisord with sudo indicating the path to the config. (e.g. for me the command is sudo /Users/dbieber/.virtualenvs/_3/bin/supervisord -c ~/path/to/supervisord.conf)
With supervisord set up, you’re bot is now bullet-proof! (Not bug-proof though.) Even if it encounters an error, it will automatically restart.
Wrap-up
Hopefully this guide makes it clear how you can use a private Twitter bot to reclaim your attention. The main contribution of this guide is its emphasis on using a private Twitter bot to design your own personal Twitter feed. We selected Roam Research backups as the source of tweets for our bot, but of course you can substitute Roam with any tweet generator that you please.
You can use a bot like this for revisiting old ideas, for surfacing your TODOs when you’re distracted, for sending yourself messages, or anything else you come up with.
Since making myself a private Twitter bot one month ago, I’ve been delighted to find that its tweets are often among the highest quality on my timeline. I hope you find the same.
-
When it says that using a virtual environment is optional, know that it’s definitely worthwhile! ↩︎